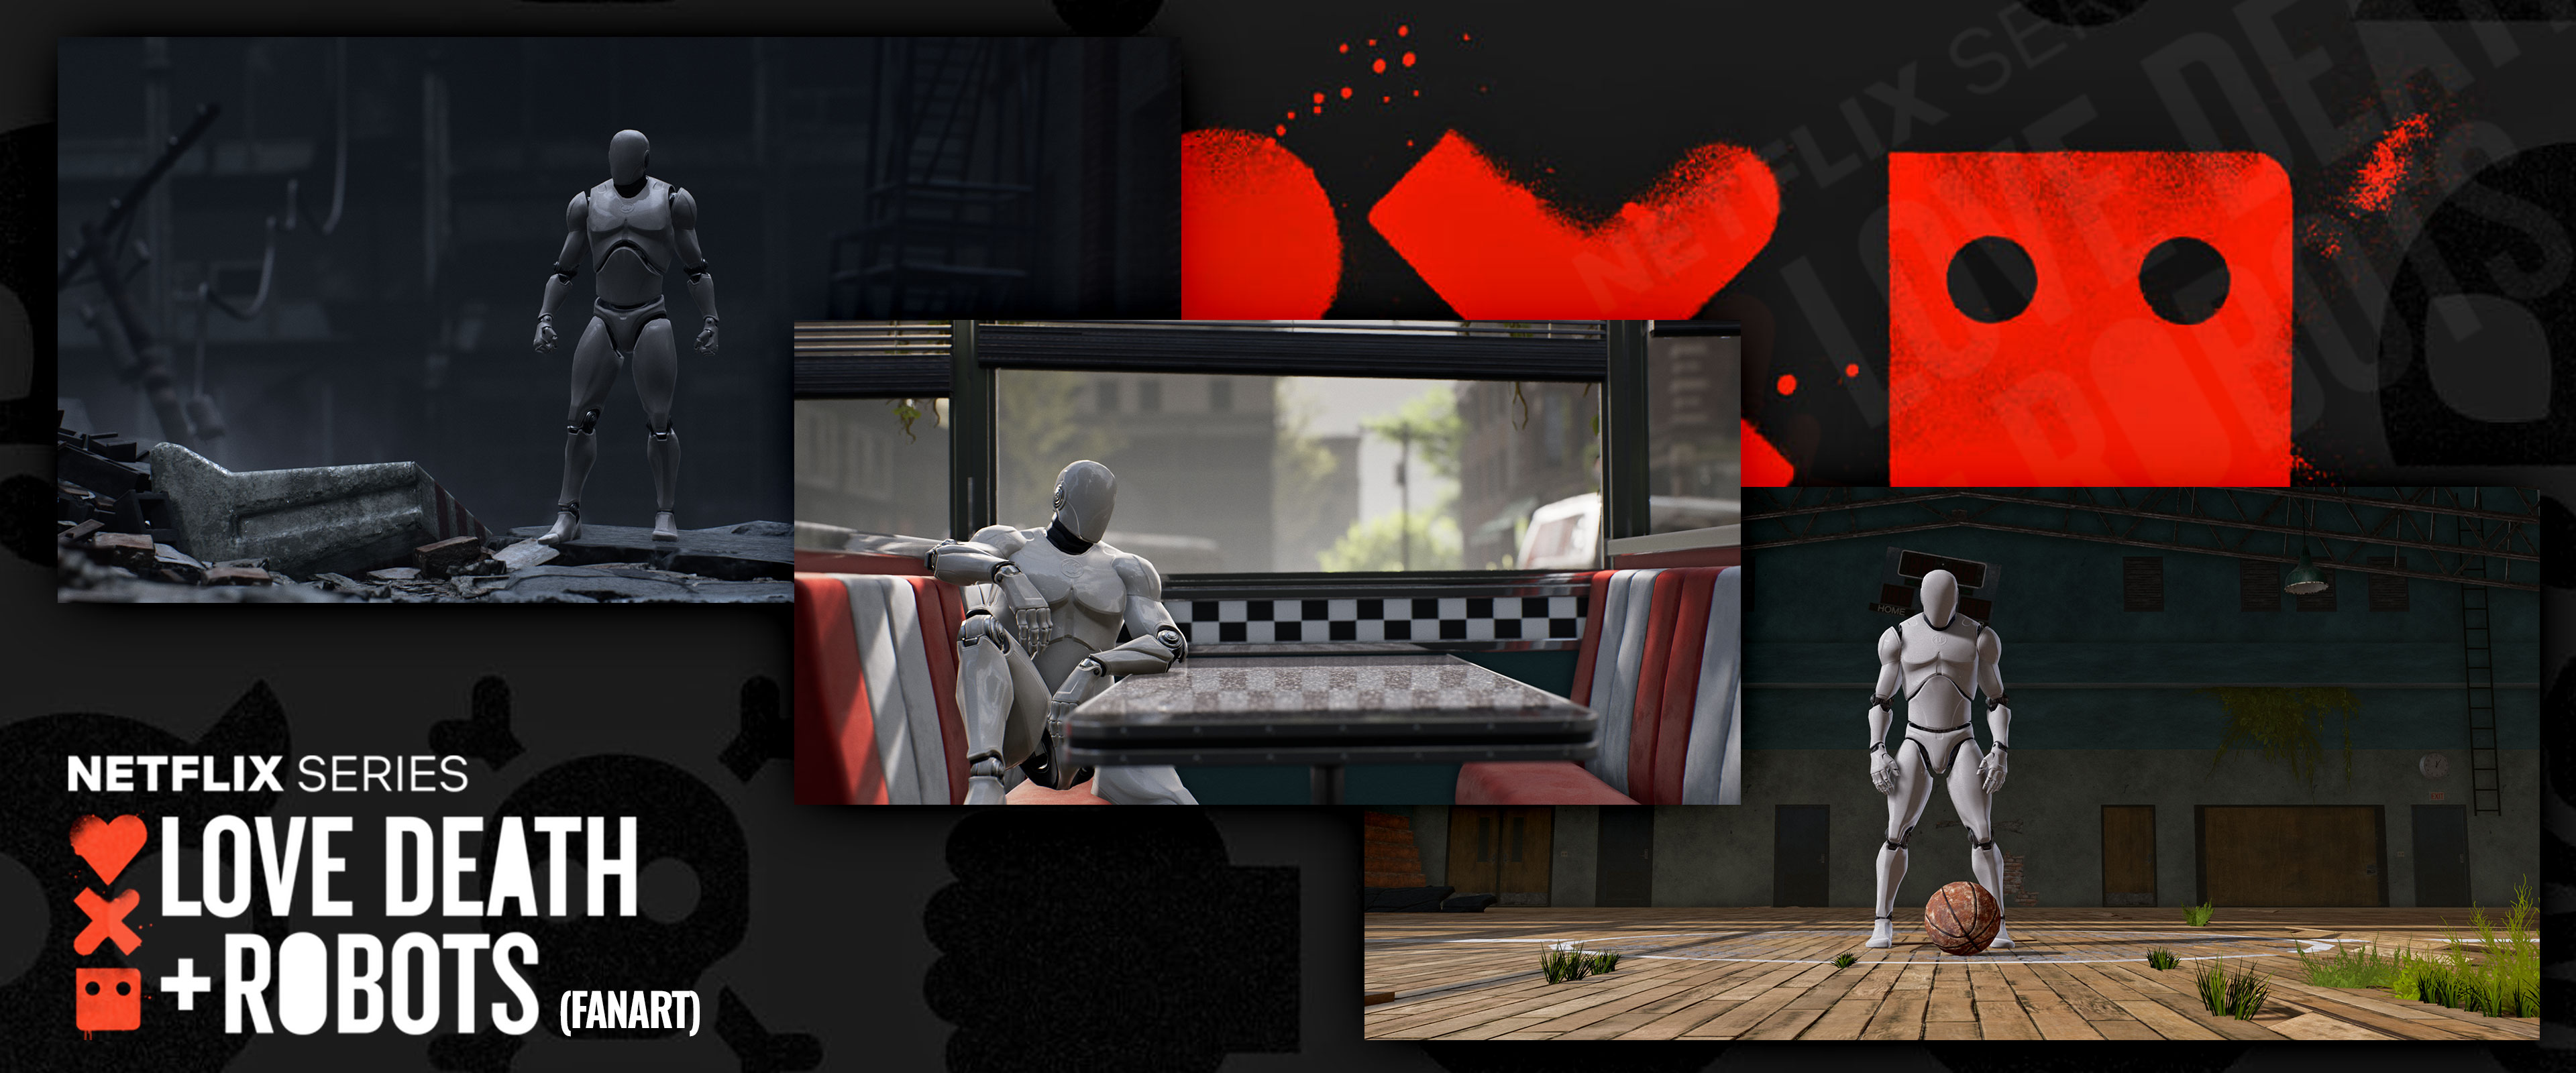
We love LD+R and we love UE4! The Netflix Mini-series “Love Death + Robots” is a collection of animated short stories spans several genres, including science fiction, fantasy, horror and comedy. While it’s raw and edgy, it got us thinking…what if we recreated a few of the scenes from LD+R Episode 1 using the real-time cinematic power of Unreal Engine 4? Thus, this fan-art experiment to recreate scenes from Love Death + Robots in UE4 was born!


Final Cinematic Results
Realtime Cinematic Experiement
The rules:
- Use UE4 Marketplace Assets
- Must run at a minimum of 24 FPS
- No external rendering; everything thing must run in real-time in UE4
- No external programs allowed
Our goal was to recreate scenes from Episode 1 using nothing but Unreal Engine 4 and publicly available assets from the Unreal Engine Marketplace. We wanted to test how quickly we could assemble a cinematic quality scene, use as few assets as possible, and still adhere to the style and mood of the LD+R. We knew that Unreal Engine was capable of producing extremely high quality results, especially when it comes to real-time cinematics; however, we wanted to see how simple we could make scene assembly and were determined to use nothing but in-engine tools for everything. Our rule of thumb was “everything had to be done in Unreal Engine 4.”
Note: While this project/experiment was completed in Unreal Engine 4.22, we chose not to use Real-time Raytracing for principles of backwards compatibility.
Project Breakdown
Inspiration
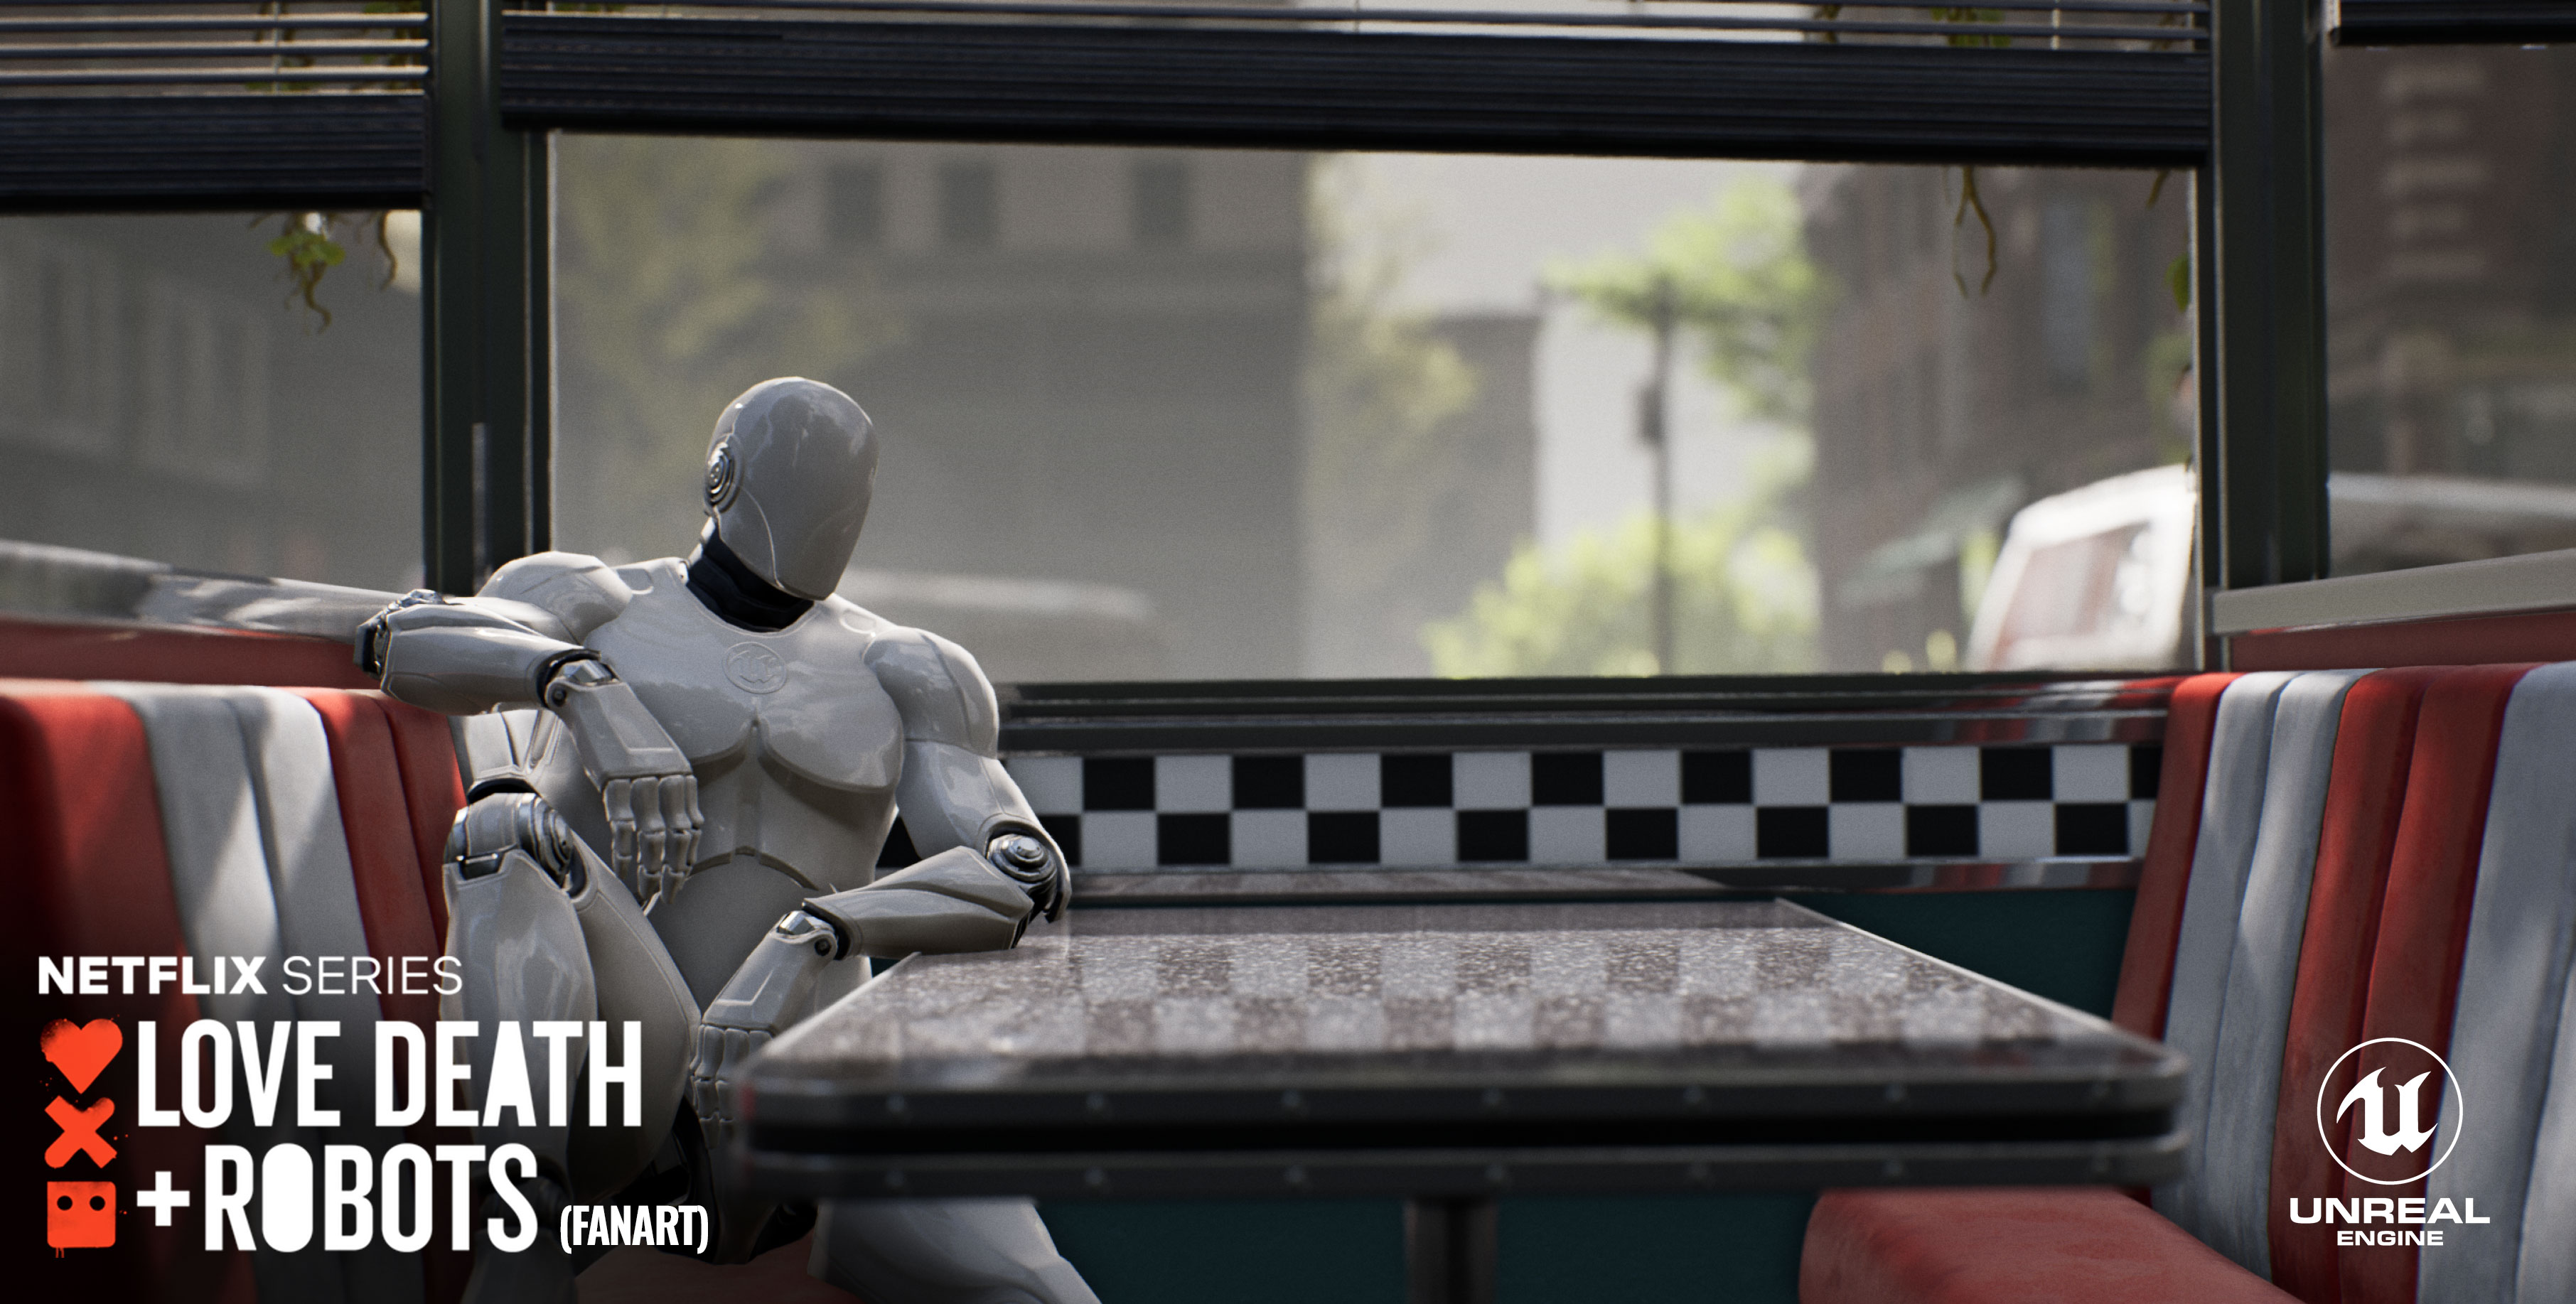
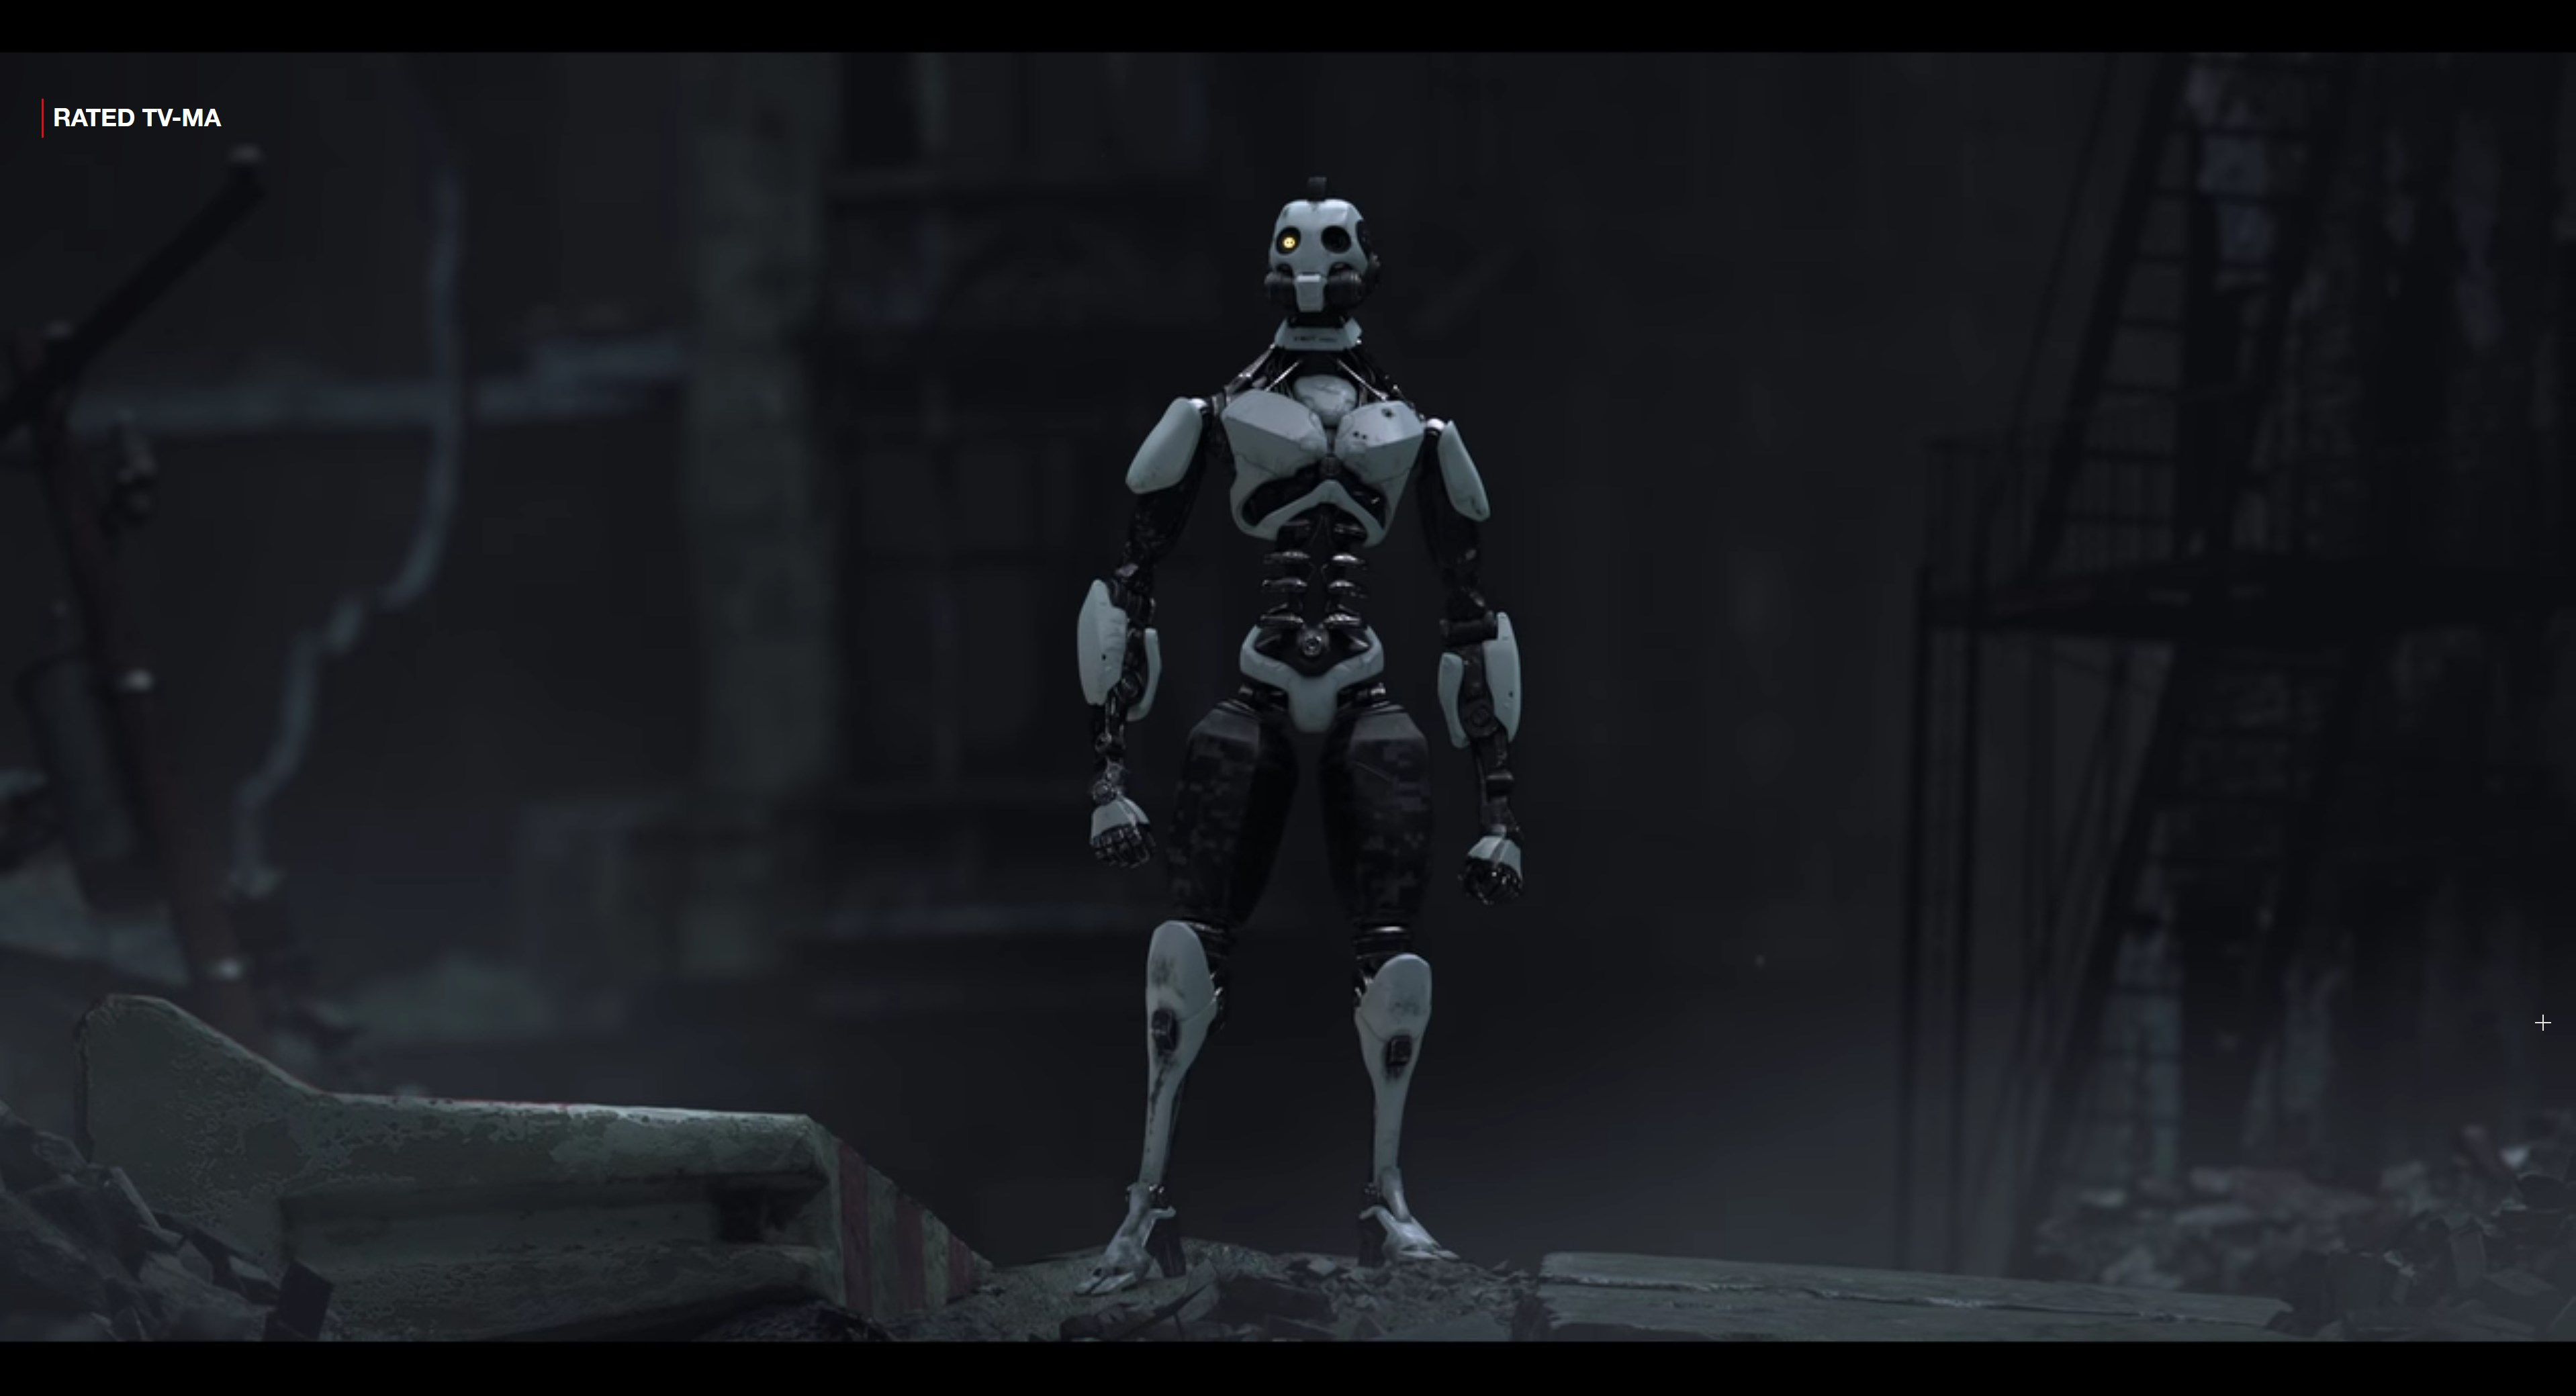
The first scene we chose to recreate came from the opening sequence of Episode 1. We loved the noir style of the shot and the rich depth of field. While a relatively simple shot, the key to this shot’s composure were the layers of depth between the foreground, subject, and background elements. Subtle splashes of light helped to shape the overall scene and provide contrast for visual interest.
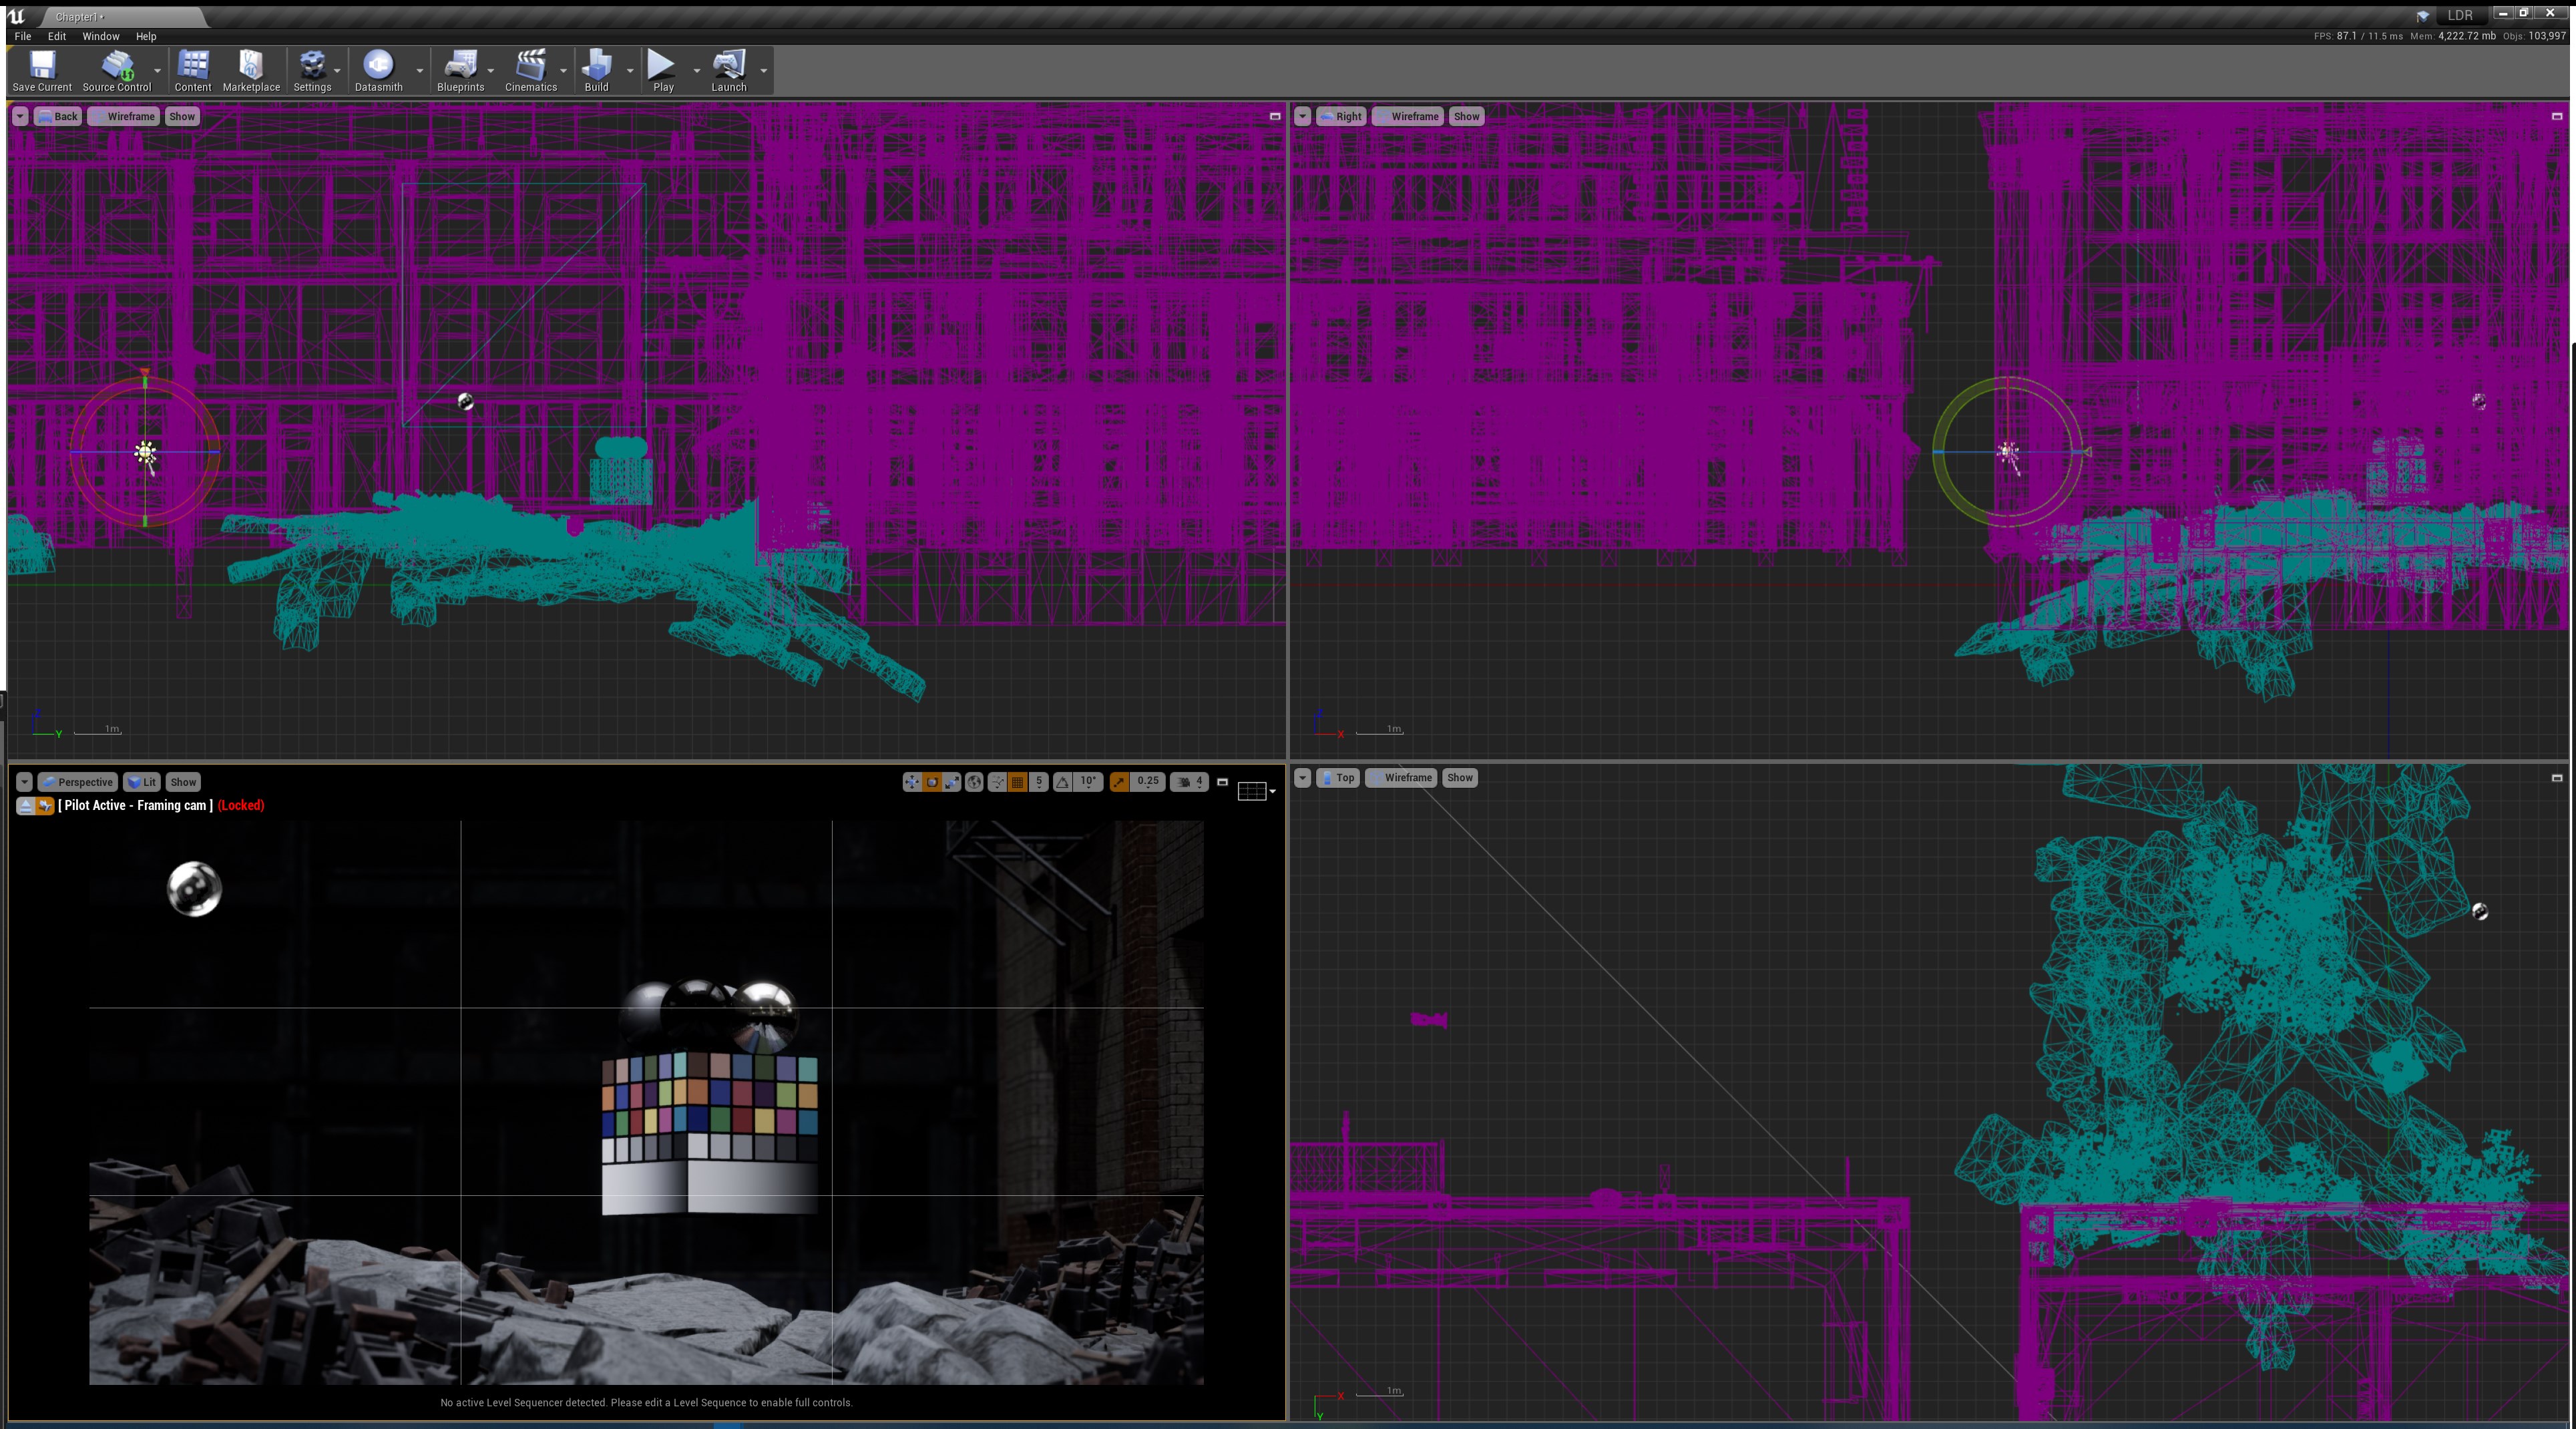
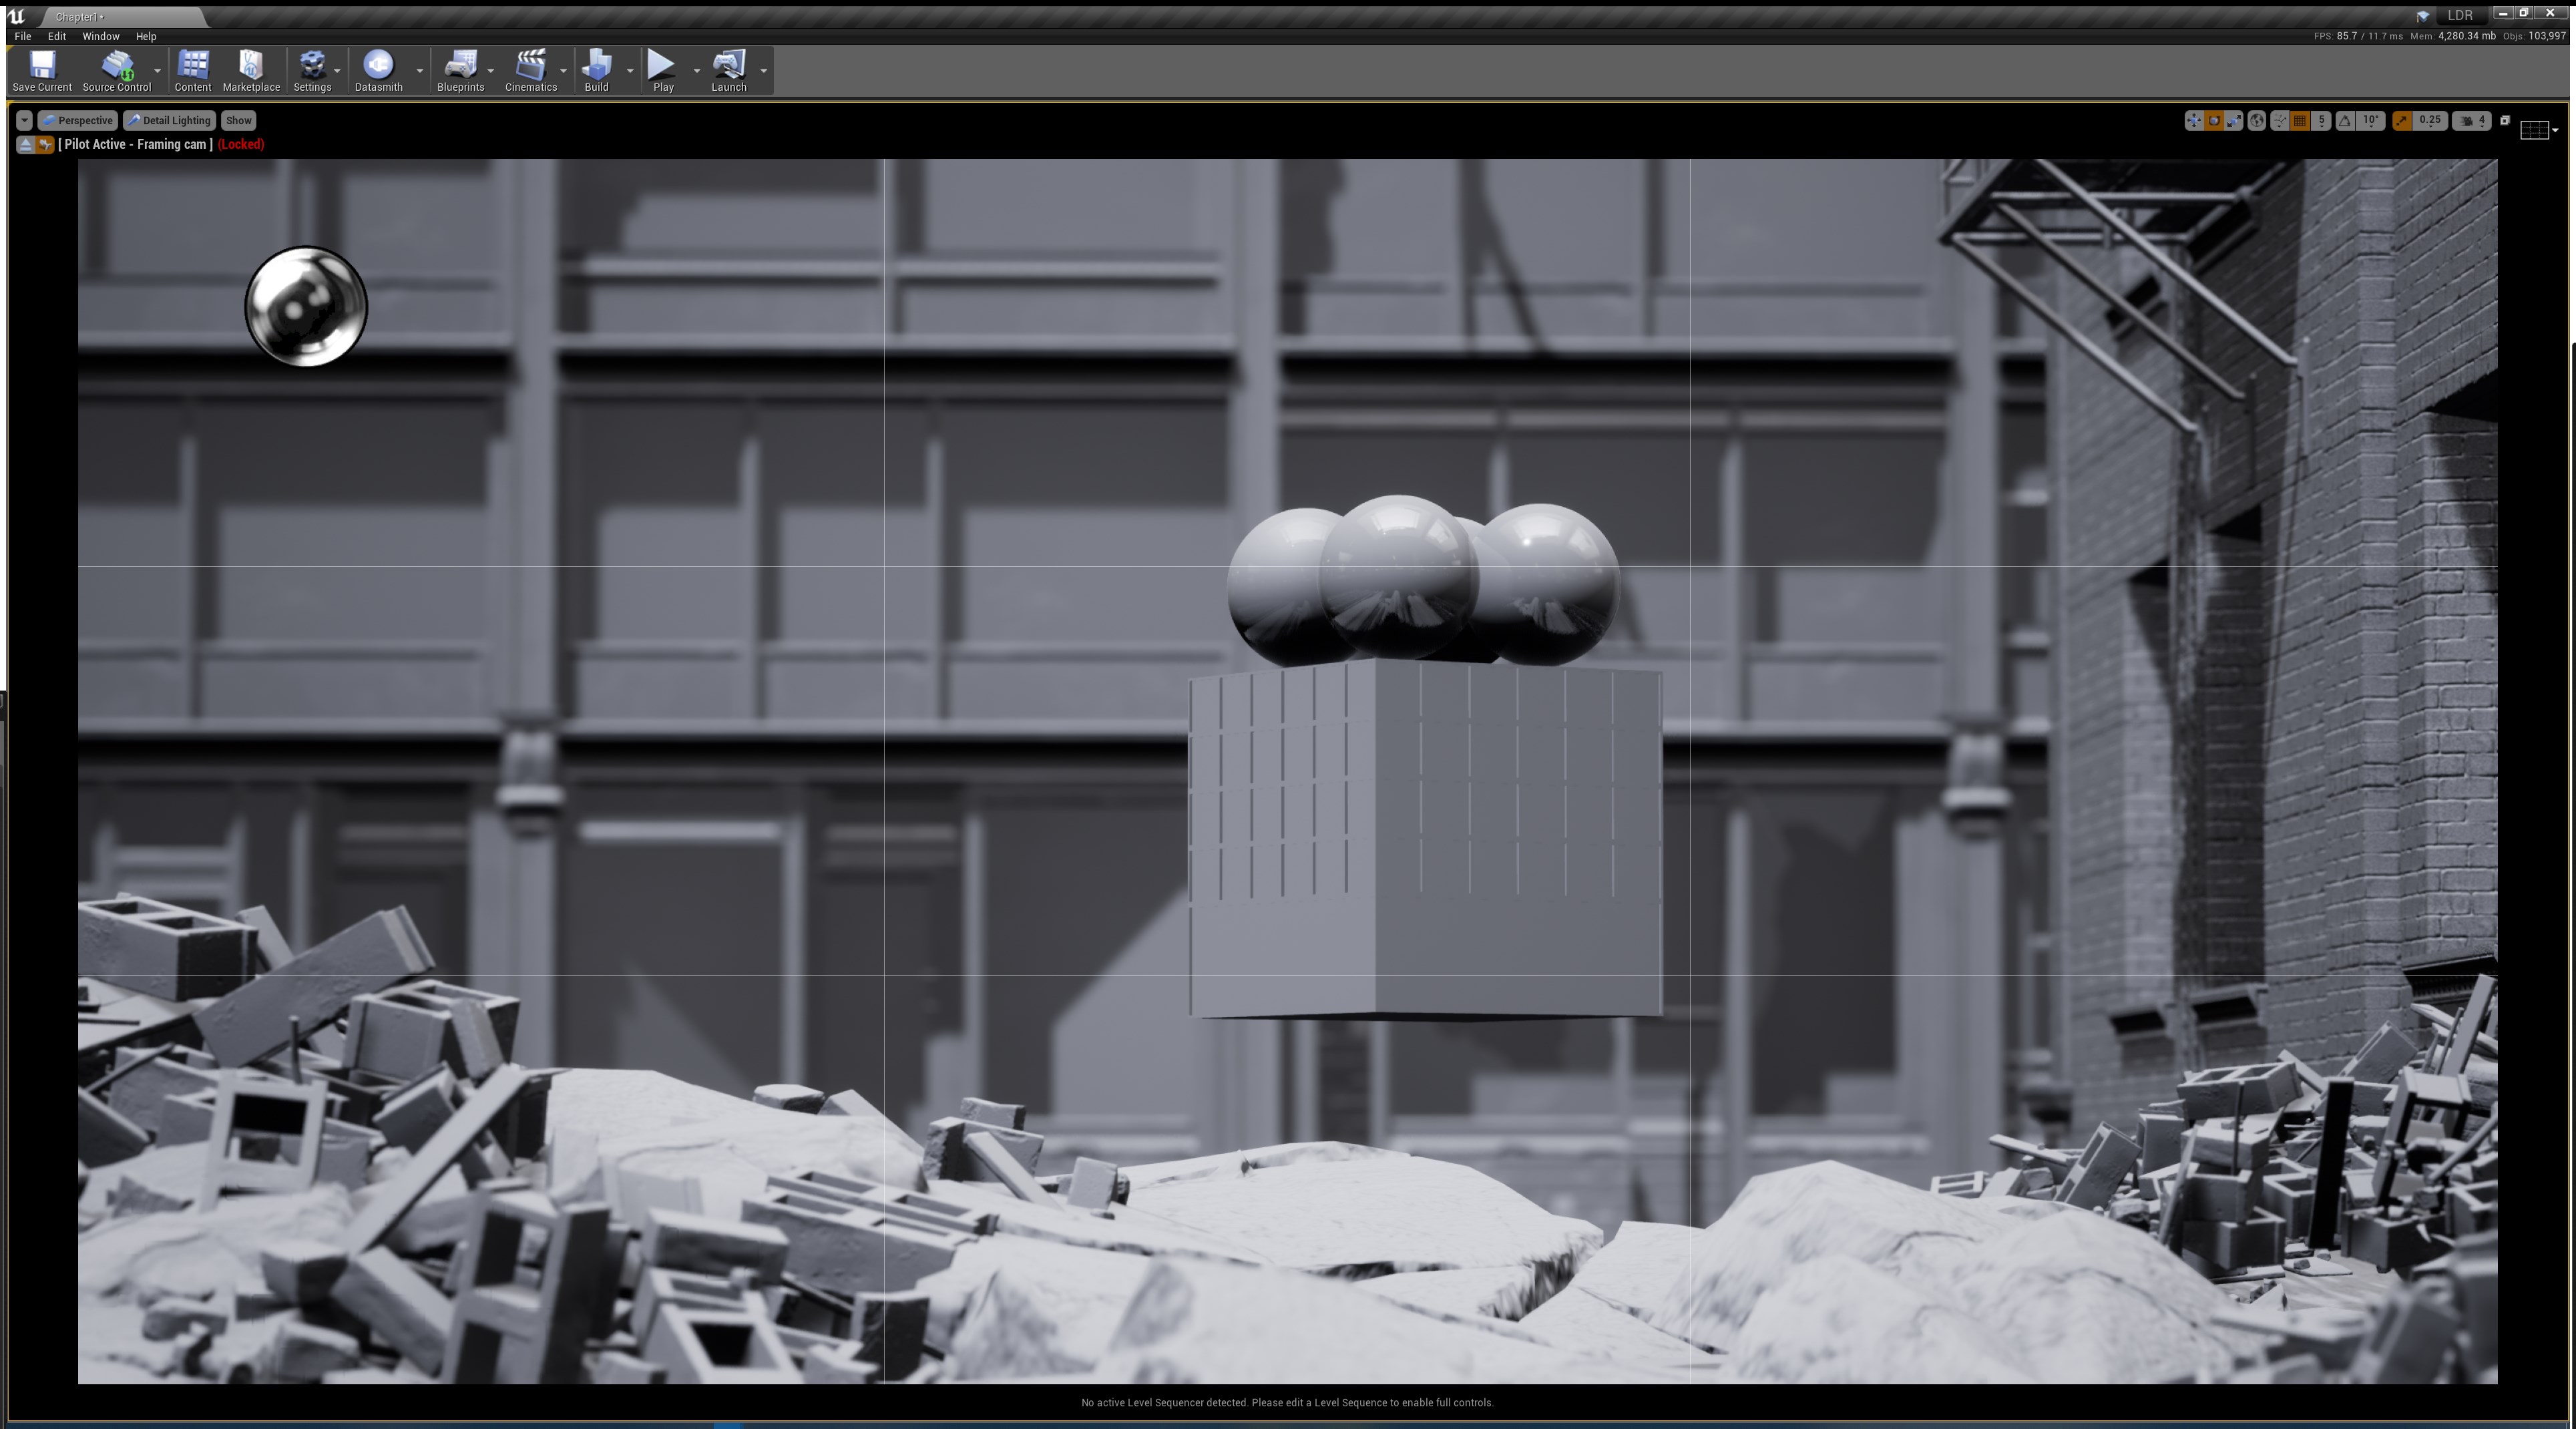
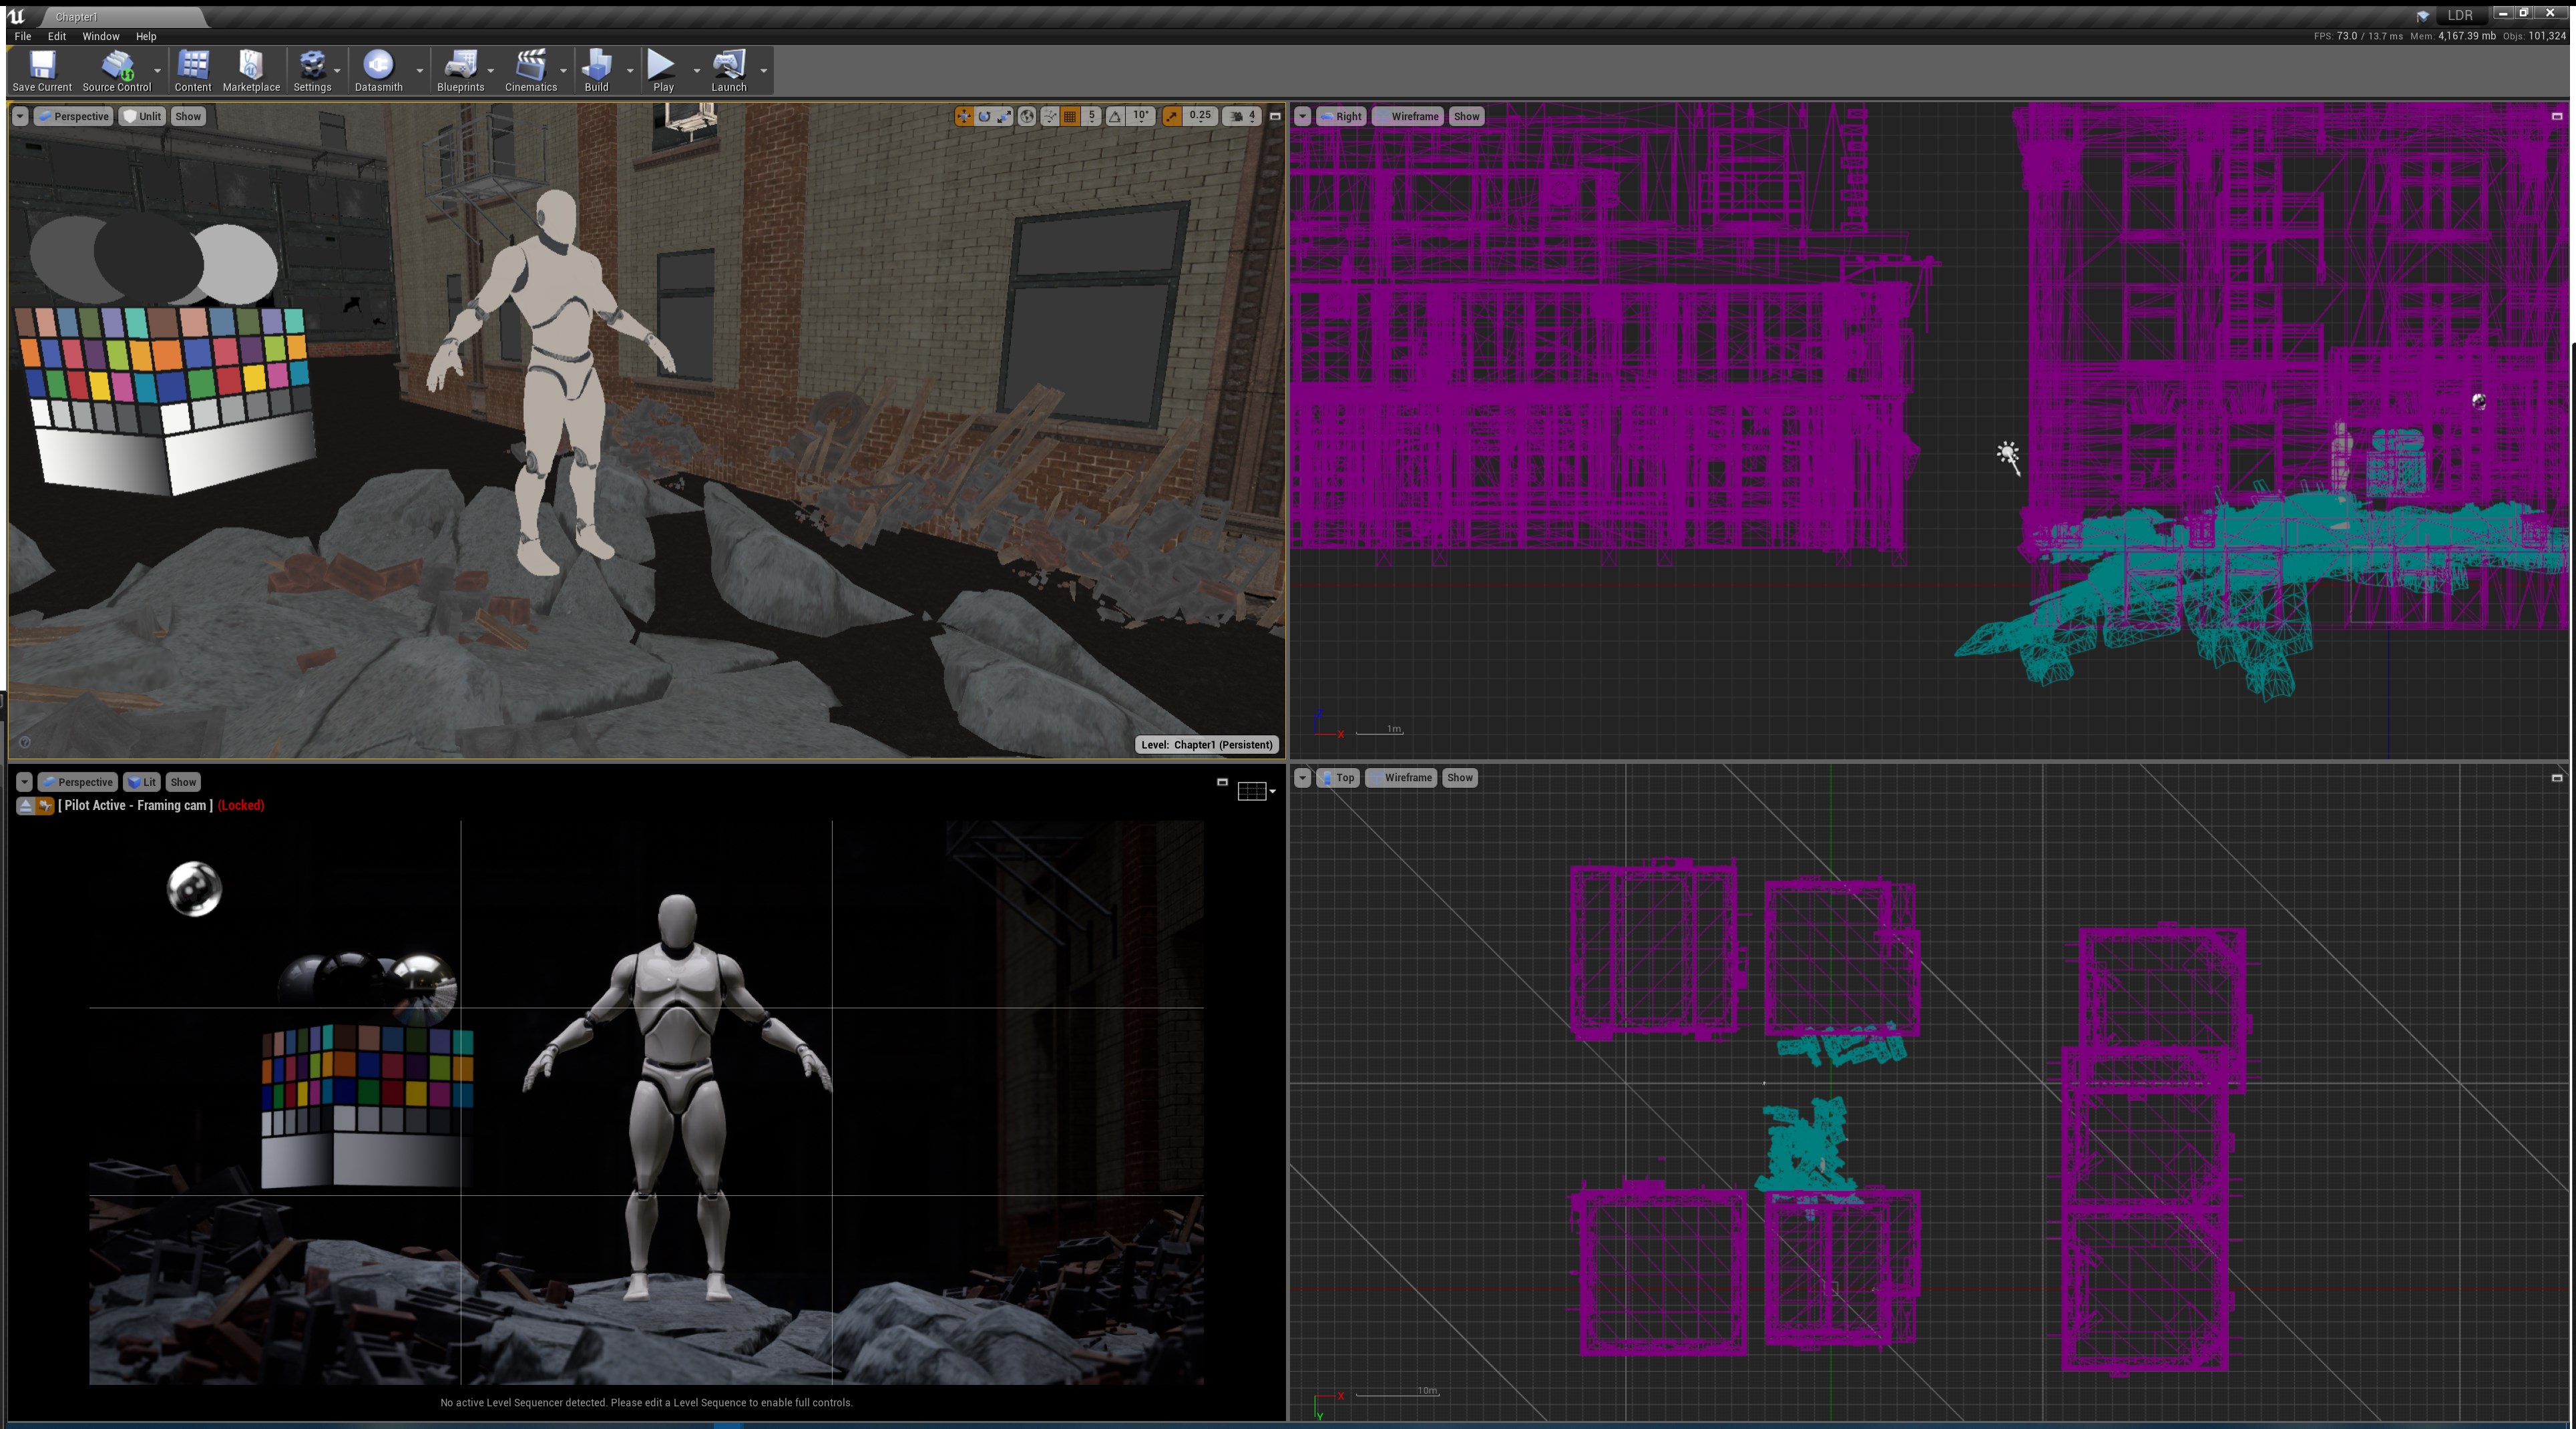
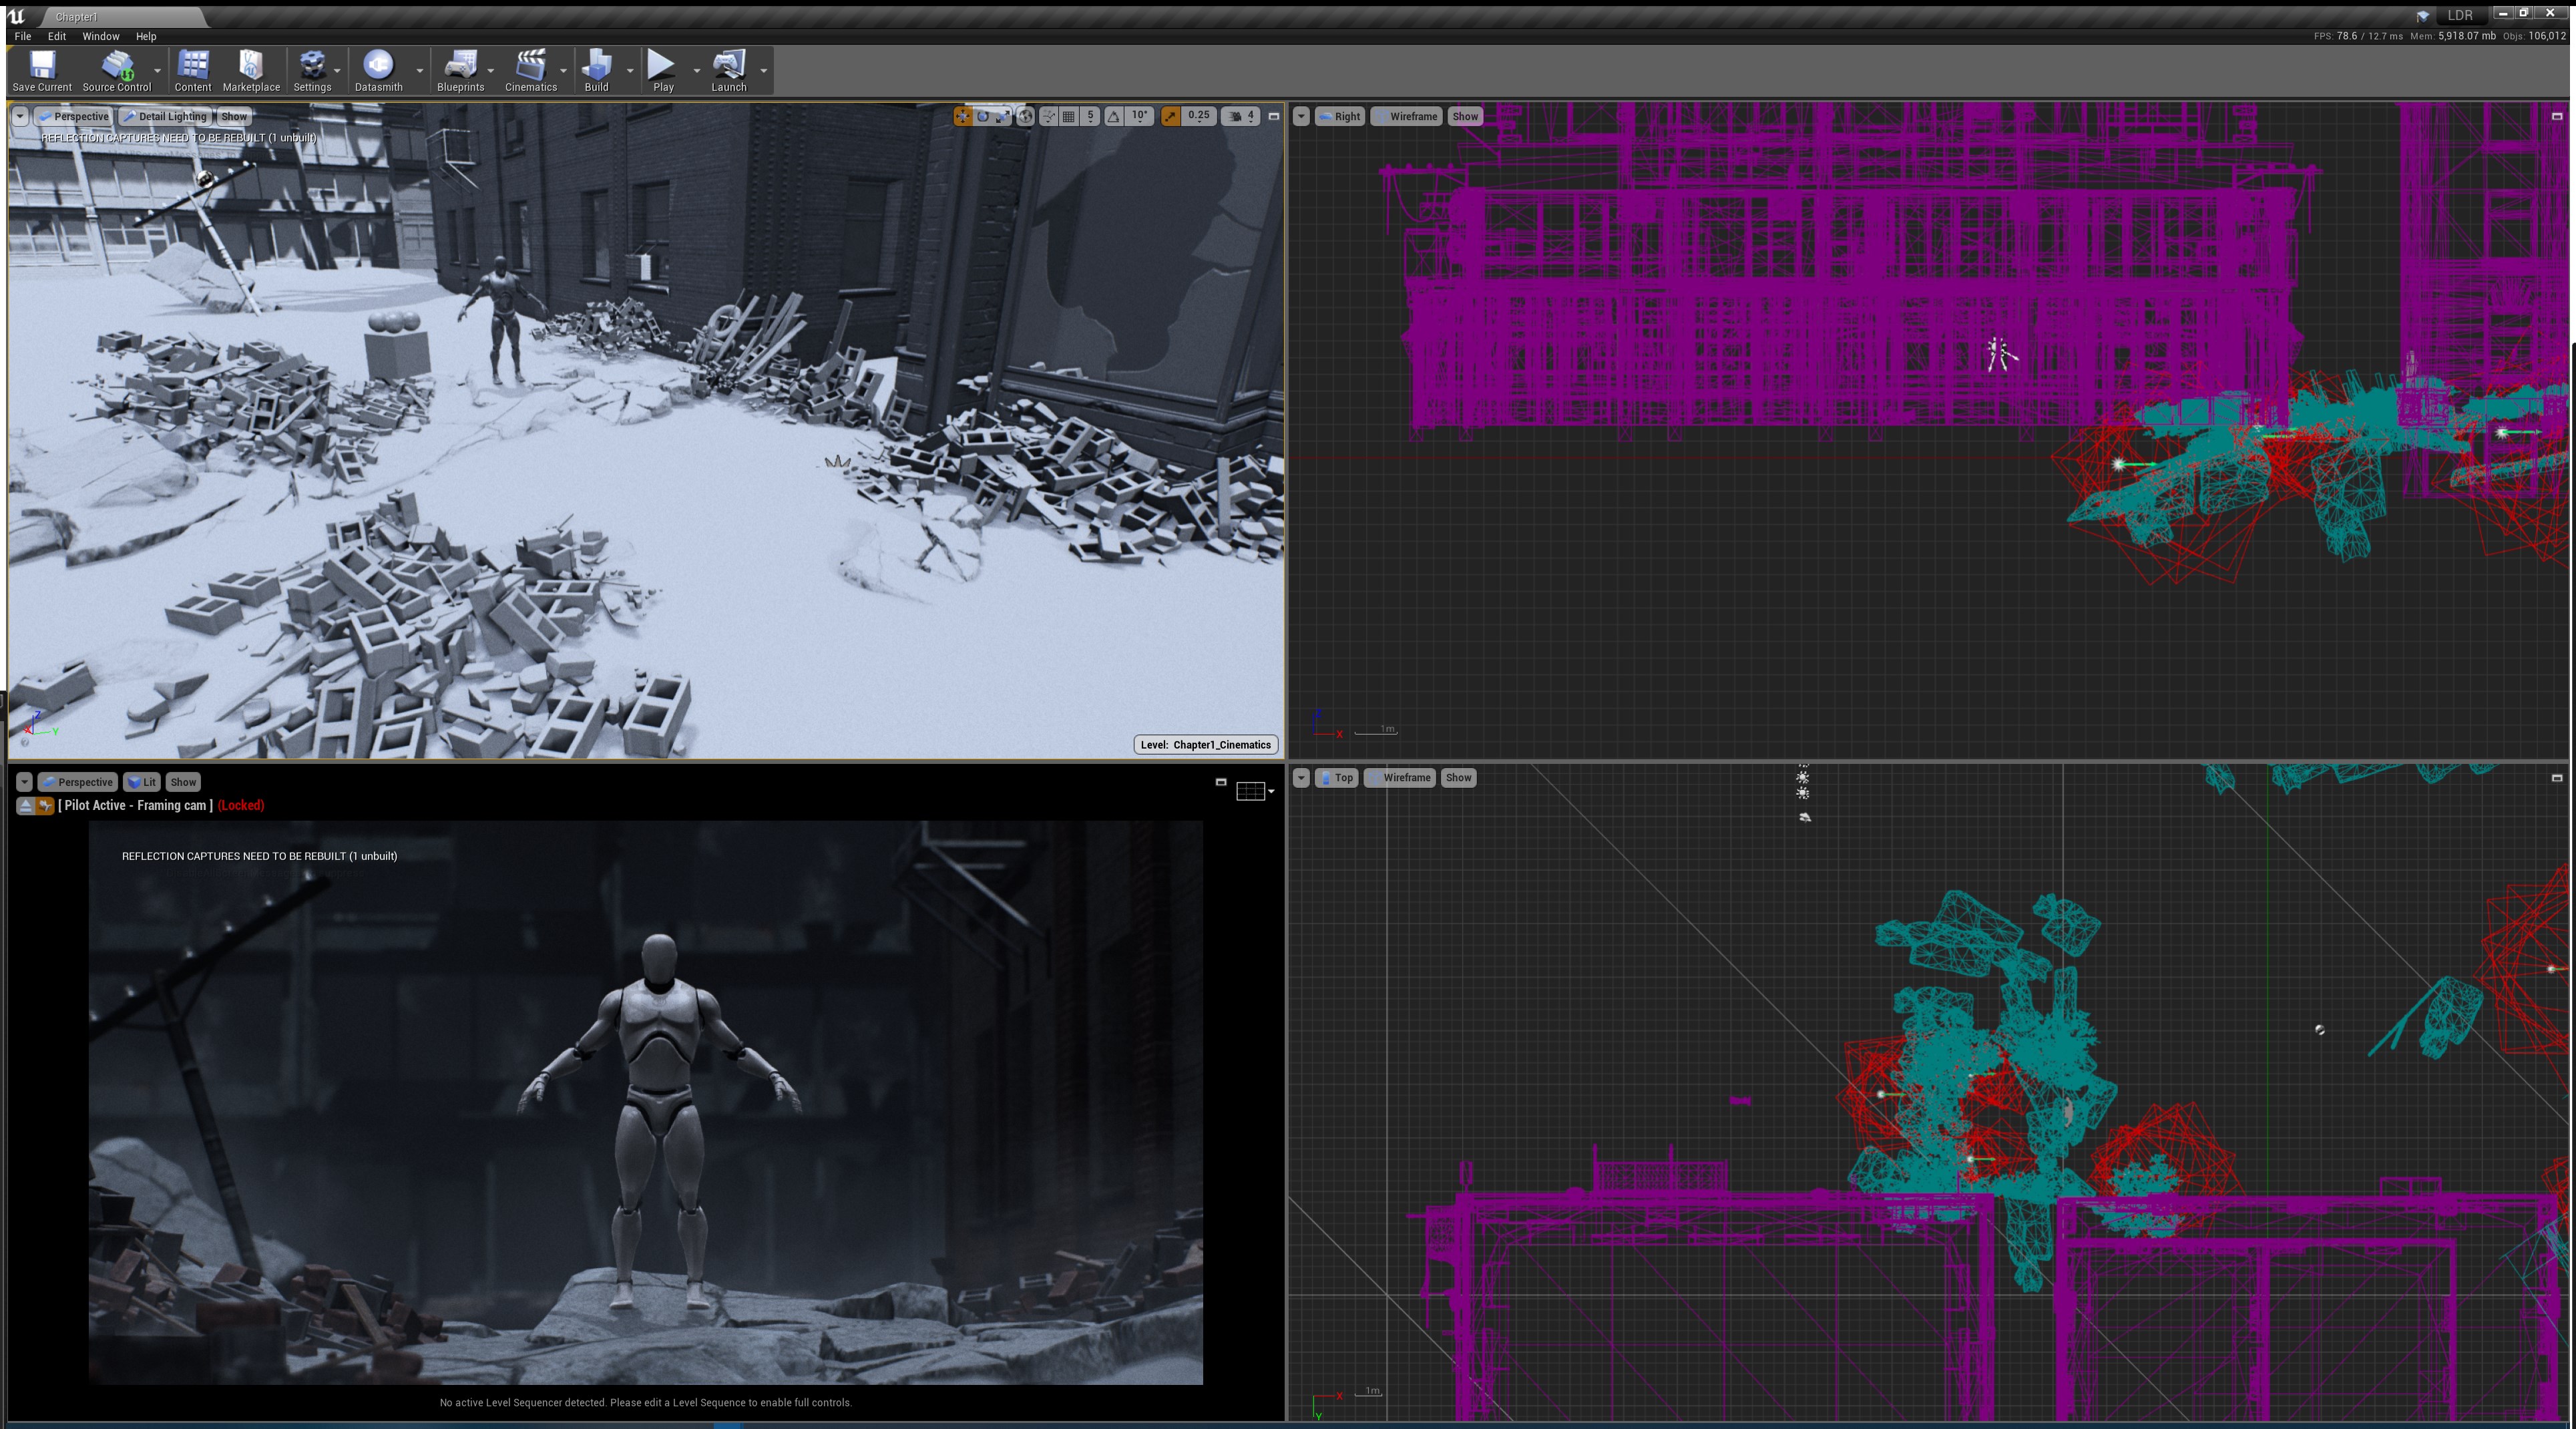
Marketplace Asset Blockout + Assembly
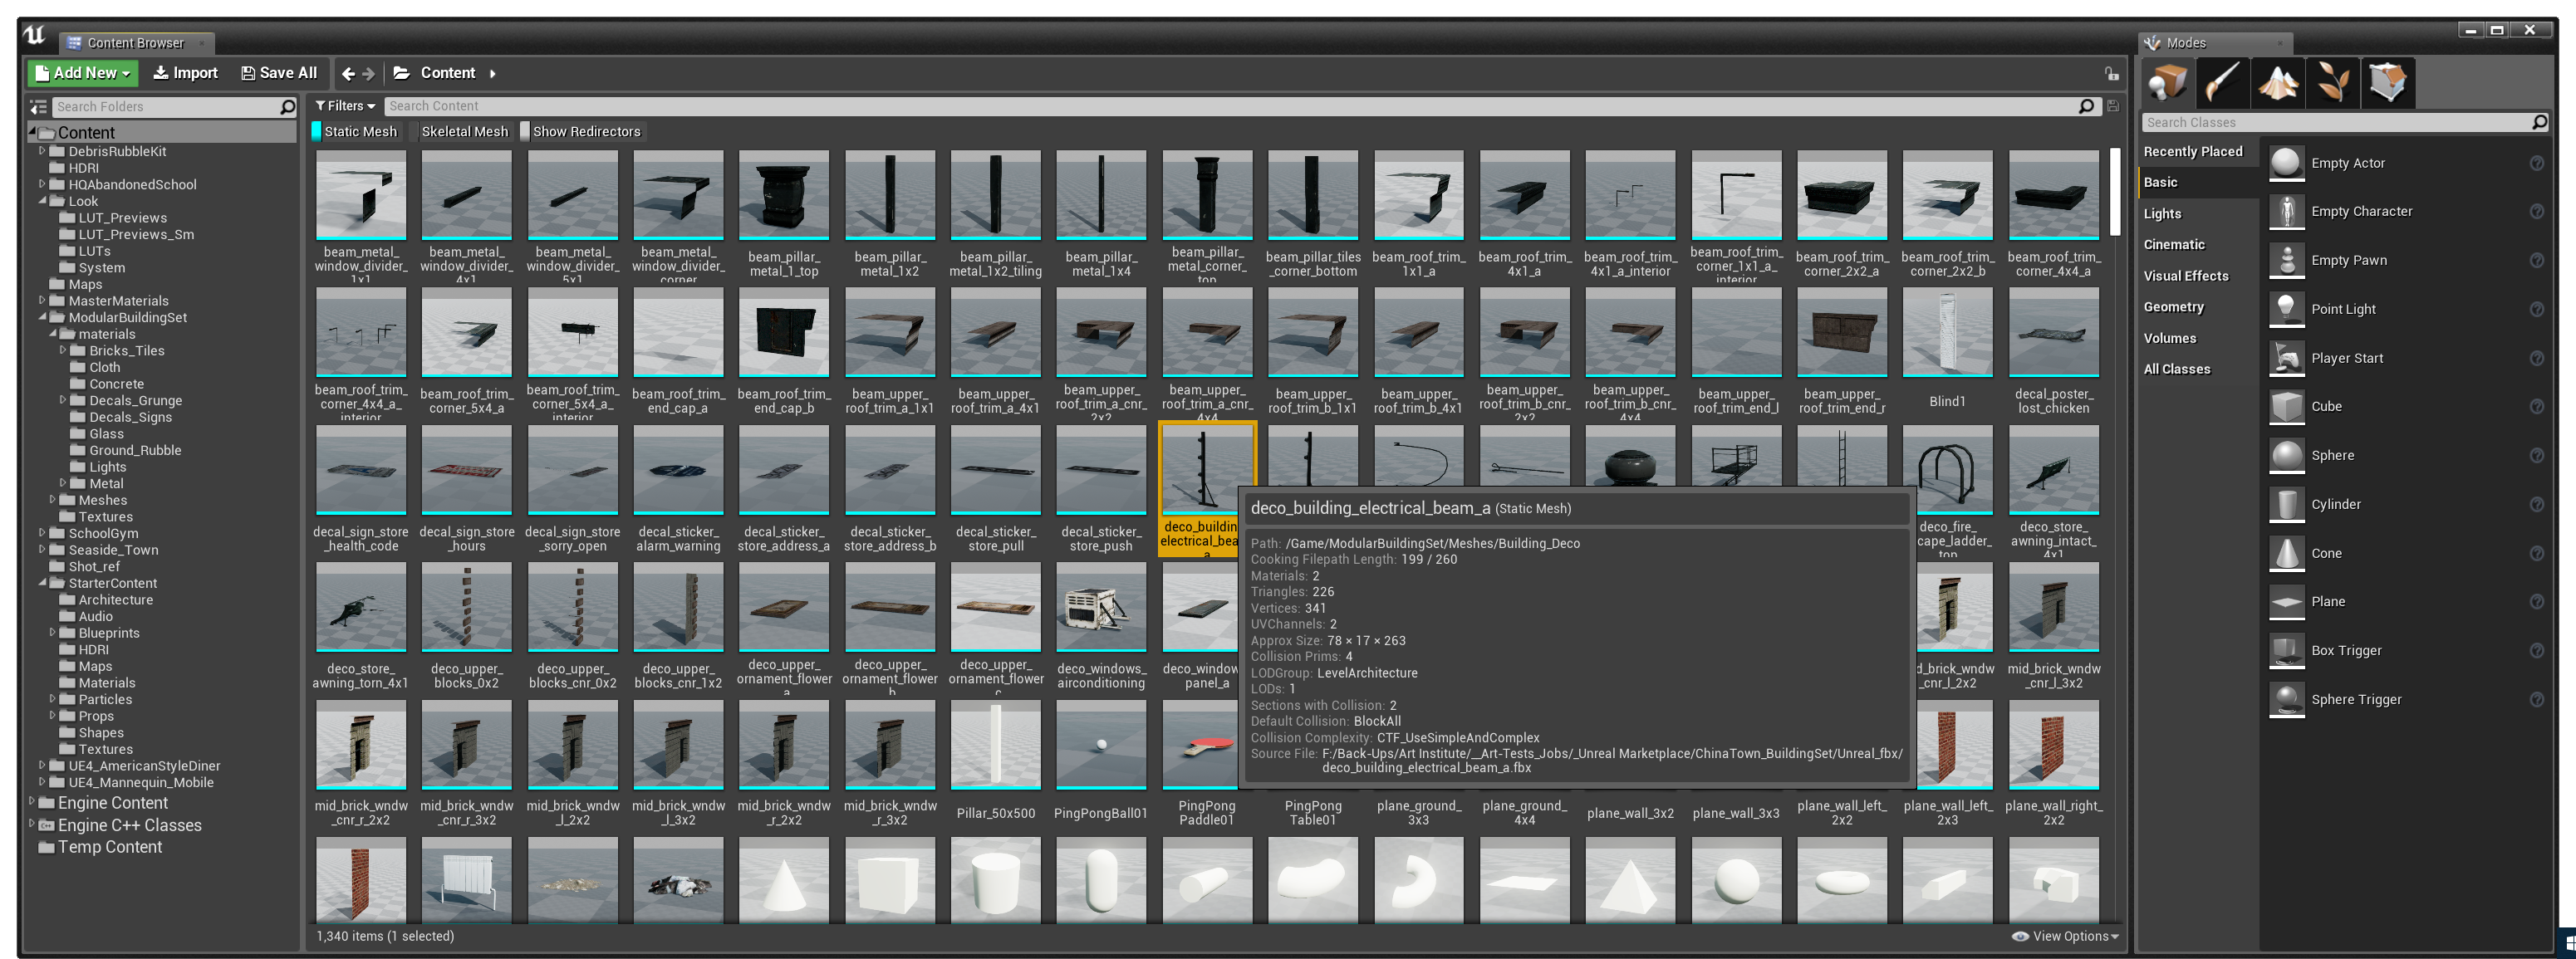
Per the requirement that we use Unreal Engine Marketplace Assets for the entire project, our first step was to establish the background, subject, and foreground elements as well as place the handy “SM_ColorChecker”. After establishing our cinematic camera’s DOF, Aperture, and Focal Length, we quickly started throwing assets from our library into the scene. We primarily worked in unlit and detail lighting view modes at this stage of assembly for simplicity and focus.

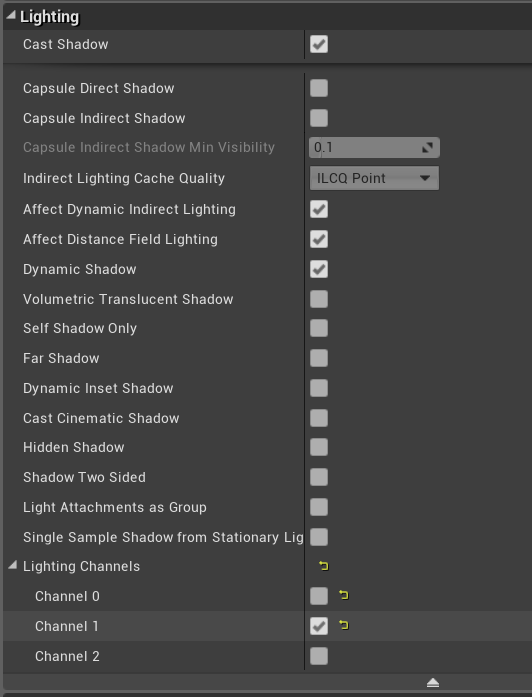
Lighting Channels
Unfortunately, one of the downsides of using marketplace assets is that cohesiveness between multiple assets may not always be consistent; particularly with textures and materials. Some assets may be brighter or darker than others, causing problems when it comes to lighting the scene. BUT! UE4 has a nifty feature called “Lighting Channels” we can use to workaround this problem. We separated our subject and background assets to Channel 0 (default), Channel 1 (background) and Channel 2 (subject) we were able to light the background independent from the character’s lighting.

Cinematic Lighting
Now that our scene elements could be lit independently, it was time to finalize our lighting. Since our goal was real-time cinematic performance (>24 FPS), the aim was to keep things as simple as possible since all of our lighting would be dynamic (no baked lighting). In total, our scene used 3 Directional lights: 1: Primary Sunlight, 2: Background Sunlight Boost, 3: Character Rim Light. Additionally, to help provide off-screen hints at the greater world, we added some shadow casters to help breakup the flat lighting on background assets.

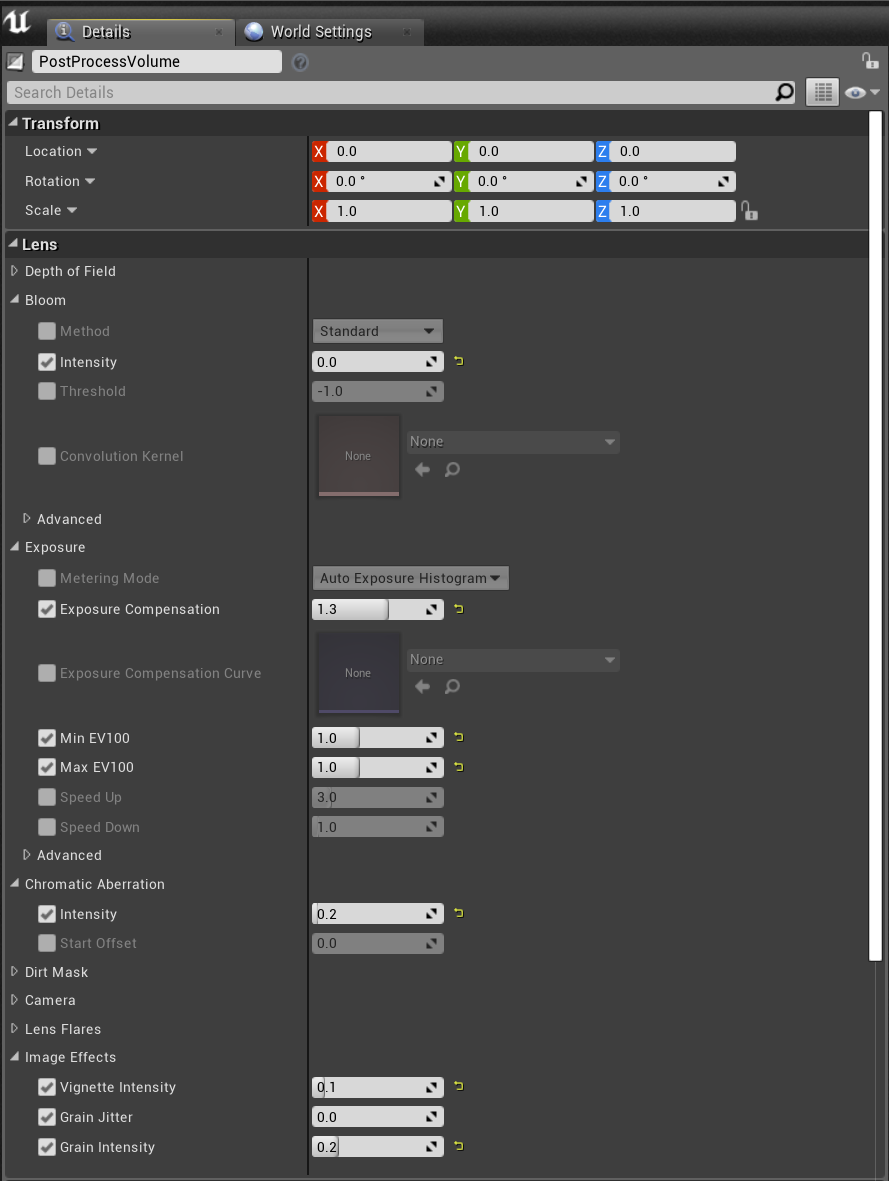
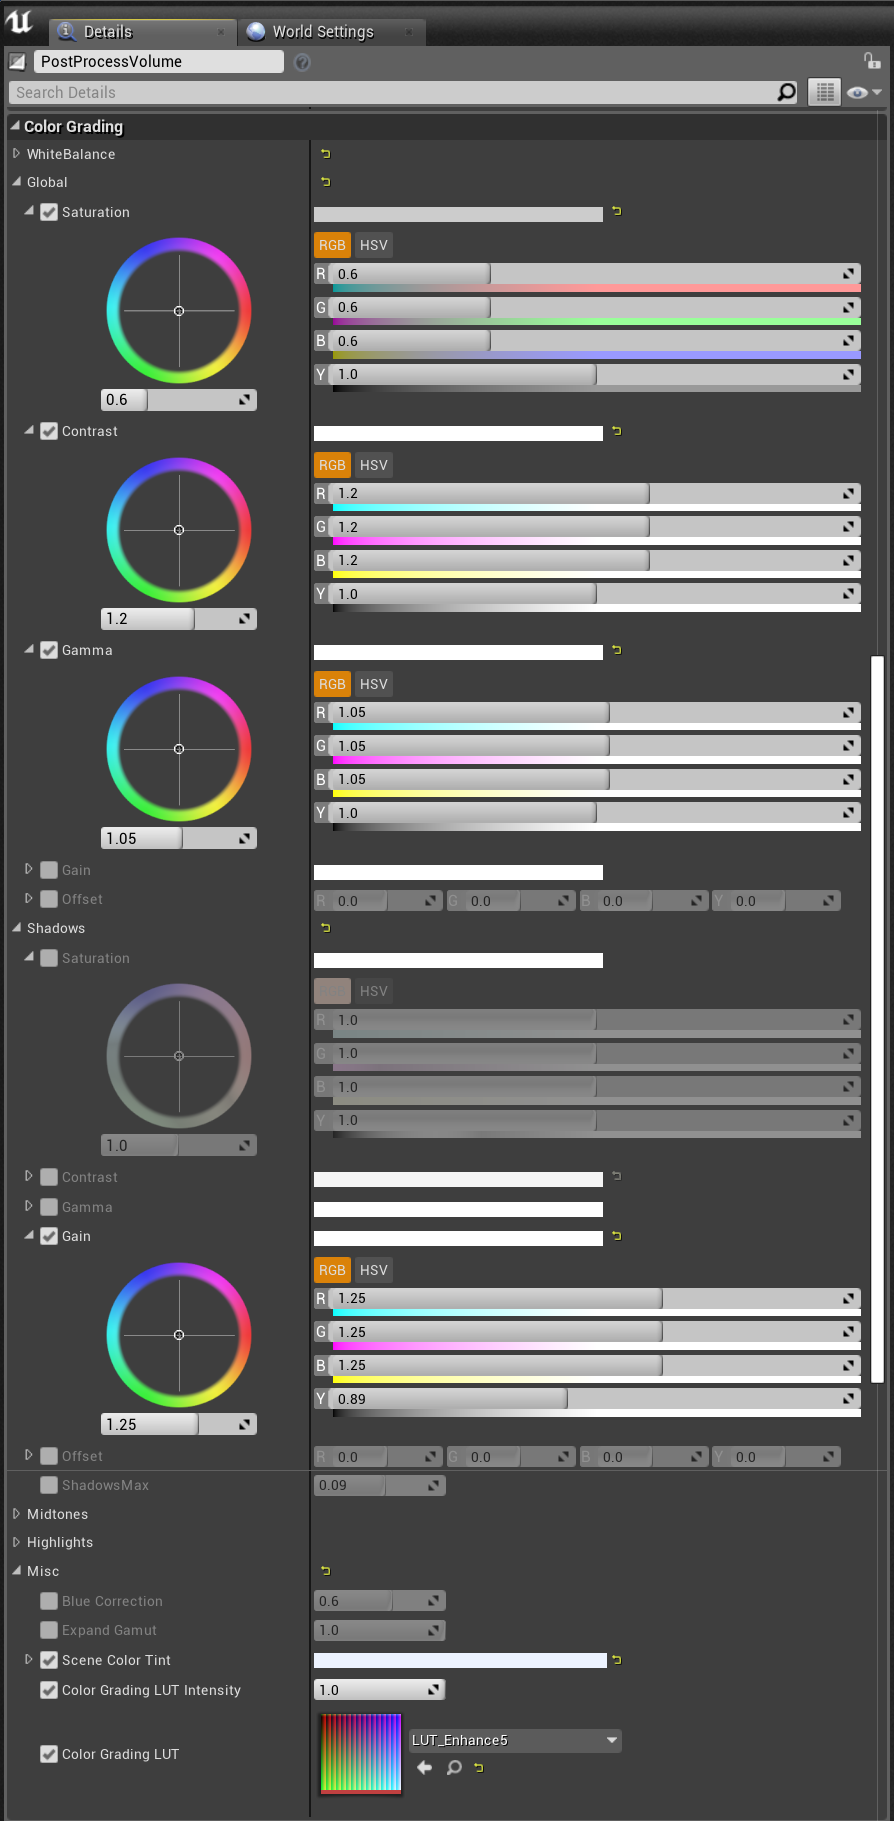
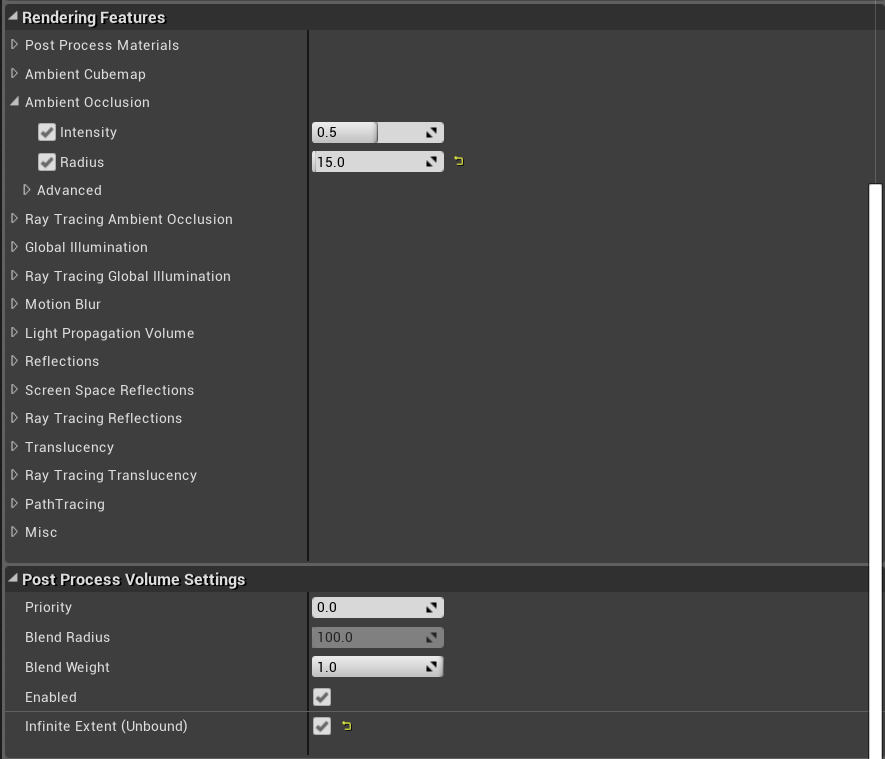
Post Processing Volumes
The final step of our assembly was to color grade the scene to closely match LD+R’s look and feel. I’ll preface that this process was completely a subjective interpretation of stills from the show and may not be 100% accurate. In short, we did a lot of guesswork to match the style.
Conclusion
Overall this fan-art experiment was an awesome chance for us to recreate scenes from the beloved Love Death + Robots Netflix series and apply our knowledge of creating real-time cinematics in Unreal Engine 4. The end results were better than we had anticipated, and while we were able to assemble the entire sequence using Marketplace Assets, the fact we were able to complete everything in-engine without the use of external programs was incredible. It’s certainly a testament to the power of Unreal Engine 4 and what can be achieved with real-time cinematics.
Unreal Marketplace Assets Used on this Project
https://www.unrealengine.com/marketplace/en-US/slug/american-style-diner-interior
https://www.unrealengine.com/marketplace/en-US/slug/modular-building-set
https://www.unrealengine.com/marketplace/en-US/slug/debris-rubble-kit
https://www.unrealengine.com/marketplace/en-US/slug/hq-abandoned-school-modular
https://www.unrealengine.com/marketplace/en-US/slug/school-gym